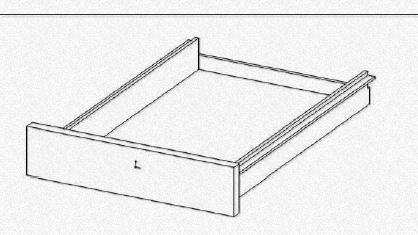
DrawerVac can be installed in any cabinet configuration with minimum inside dimensions of 12" wide and 22 5/8" deep.
1. Confirm that the cabinet has the following minimum inside dimensions: Width of 12". 2. Depth of 22 5/8".
2. DrawerVac requires a level mounting surface for installation. It may be necessary to level the under counter surface using plywood or other sheeting material. If you are installing DrawerVac in a drawer application, trimming the back of the drawer may be necessary to create the required clearance for DrawerVac to fit.
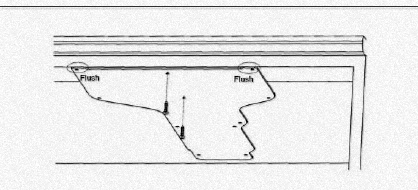
3. Begin by mounting the cover to the under-counter surface using the 2 interior screw holes as shown above. Be sure the front edge of the cover is flush with the cabinet face. WARNING! Be sure not to drill or screw through top of the counter
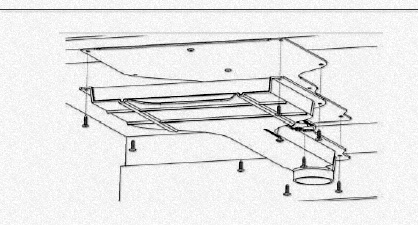
4. Install the DrawerVac assembly using the remaining 8 screws, with the tray inserted in the shell. WARNING! Be sure not to drill or screw through top of the counter!
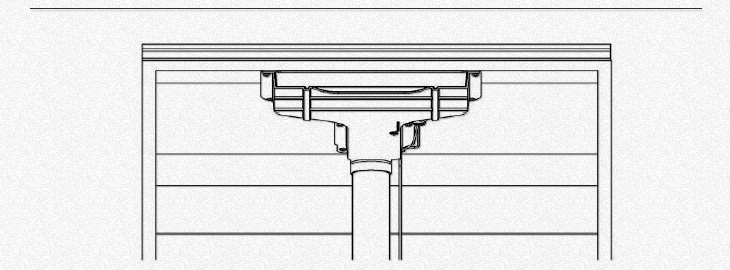
6. Connect the central vacuum low voltage wire with the 2 screws shown above.
7. Congratulations, DrawerVac's installation is now complete. The drawer removal screw can be removed if the tray requires cleaning or the unit is clogged.